I Swapped My Face into AI Images. The Results Were Amazing!
Here’s how you can do it in a few steps with this free tool.


Hi!
In this week’s guest post, Diana is sharing with us a quick yet effective way to put your face in any AI image. Diana runs a Substack called AI Girl, a weekly newsletter that helps you learn how to use AI in different areas (art, languages, education)
Lately she wrote an article about the best Midjourney features and how she studies AI and other technical stuff. Check them out!
I’m sure you’re familiar with Midjourney, the AI tool that transforms simple text prompts into beautiful AI art.
I just discovered a cool functionality to create your own avatars!
A picture is worth a thousand words, so let me show you the results I got after replacing the faces of famous celebrities and Disney princesses with mine.
I’m going to show you how to do this step by step later. The whole idea is to generate an image of a famous character in a half-body shot and combine it with a picture of yours where your face is clearly visible.
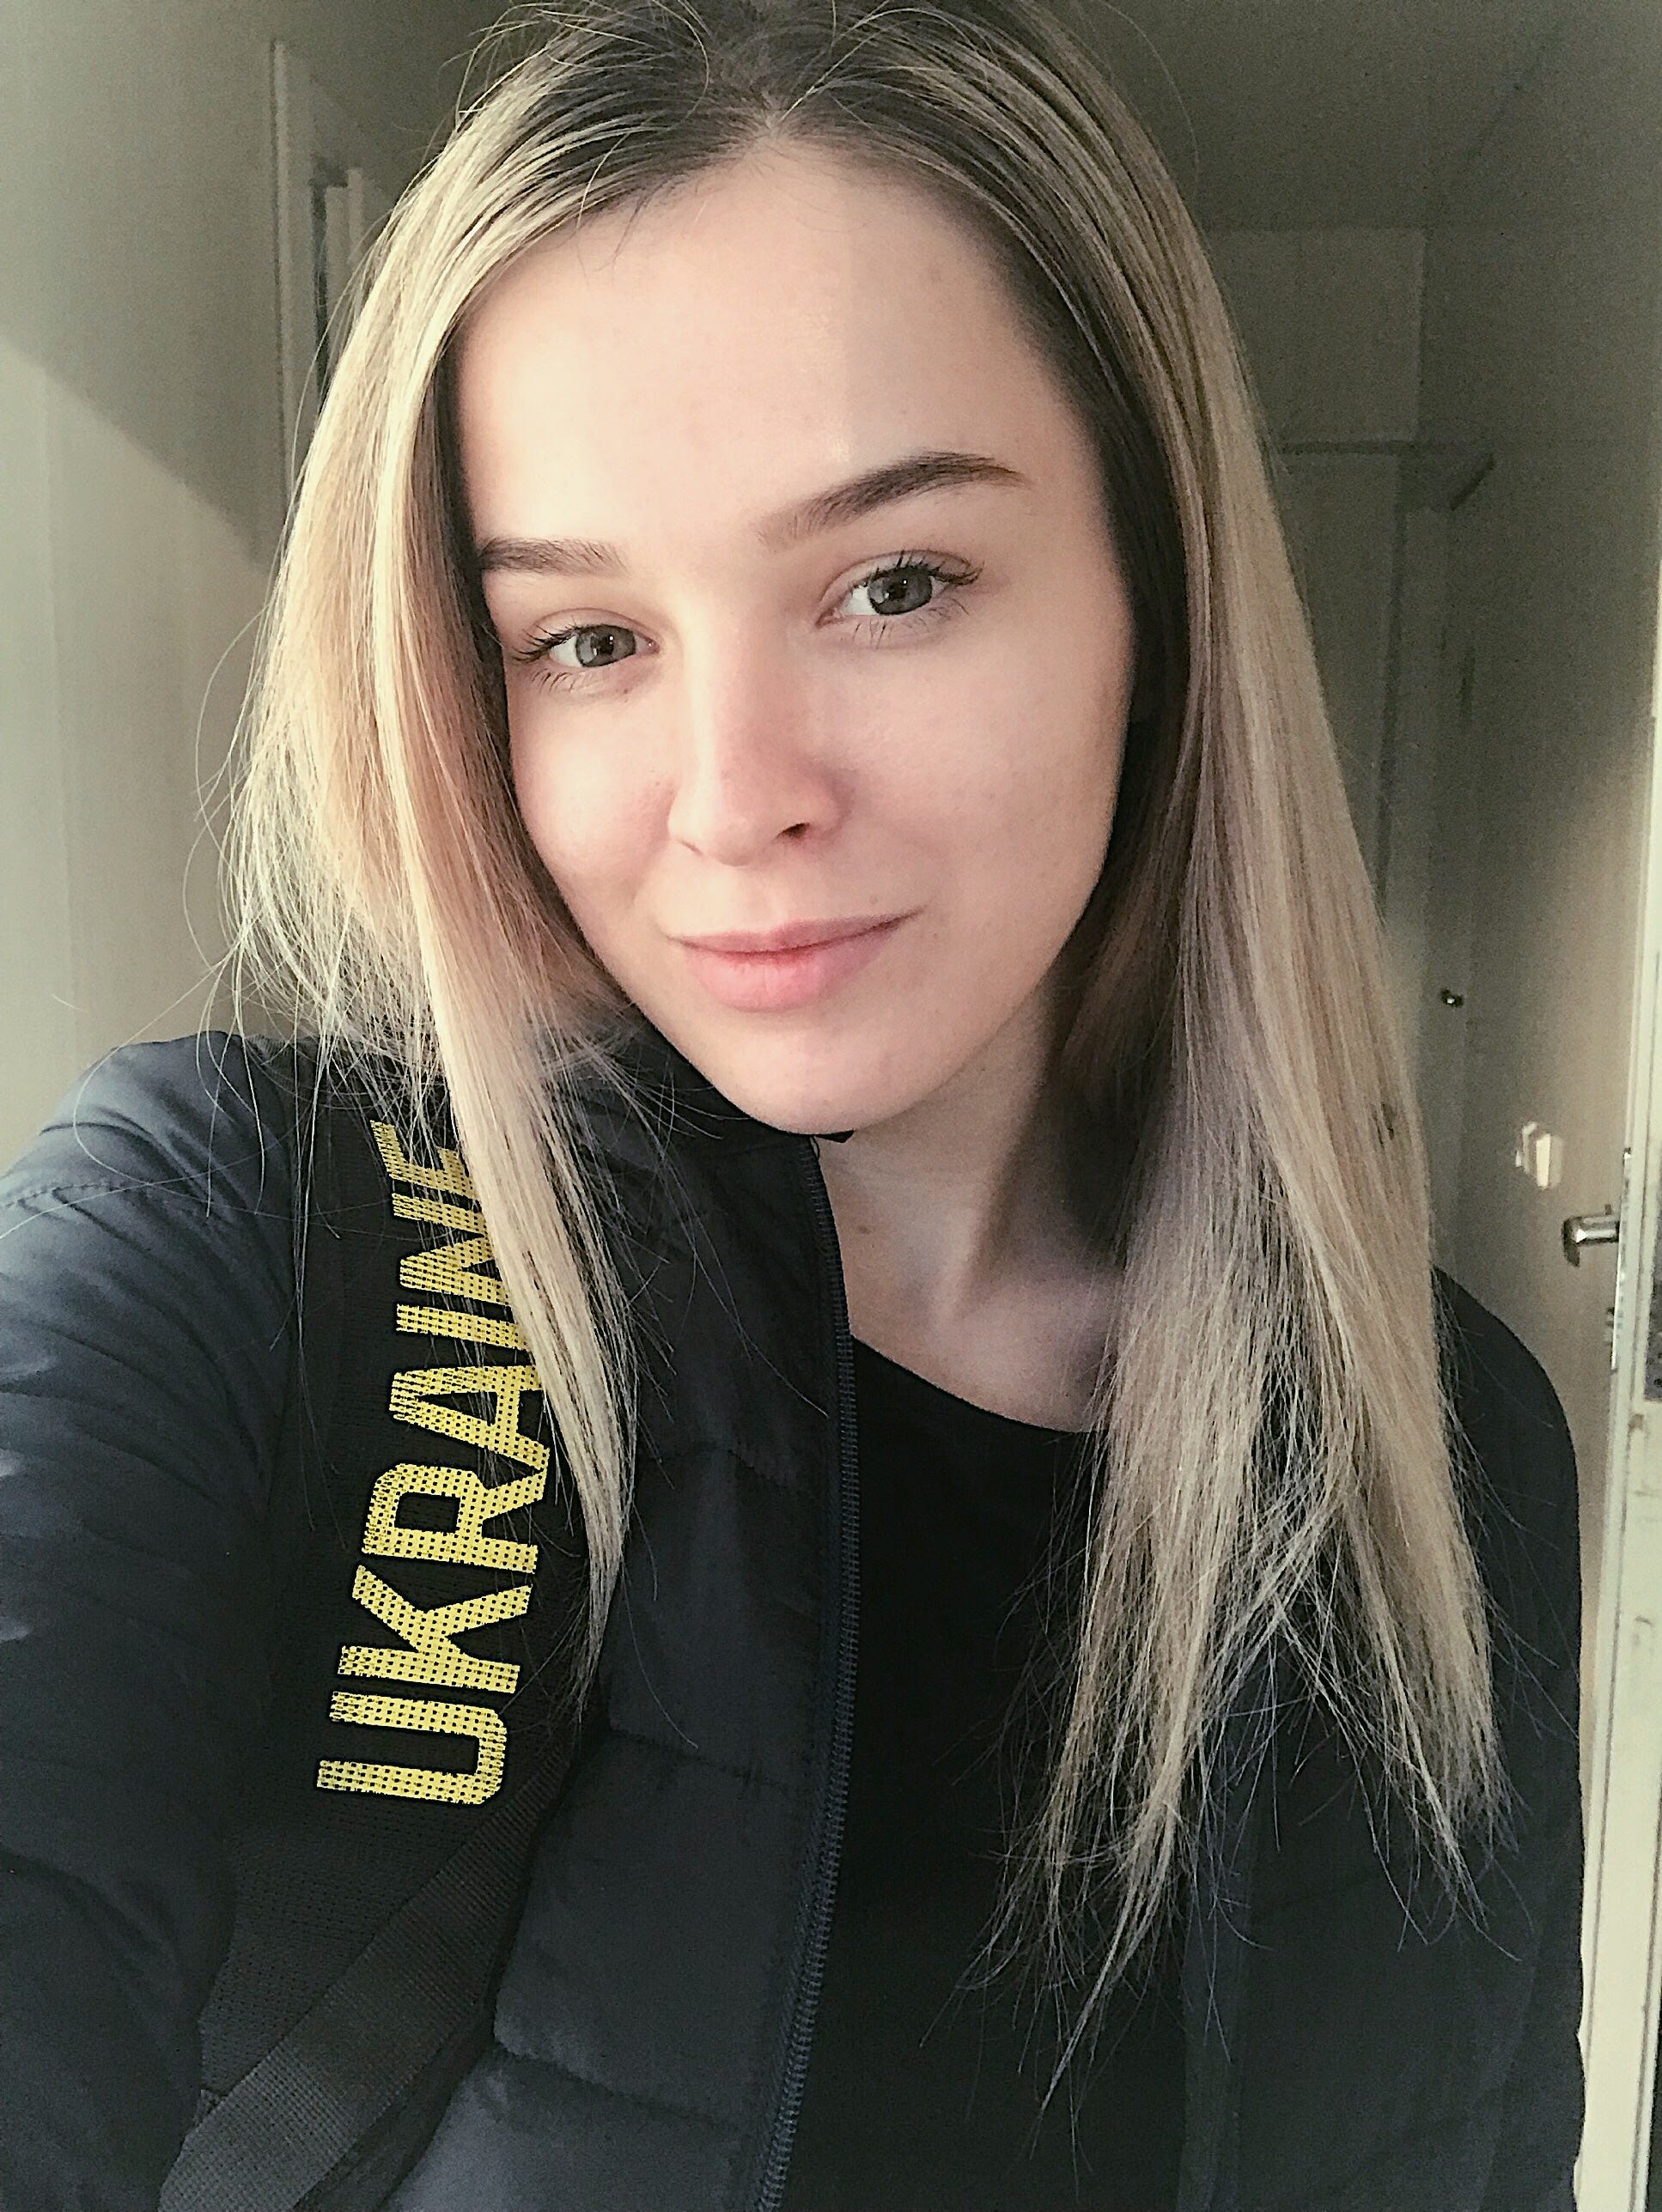
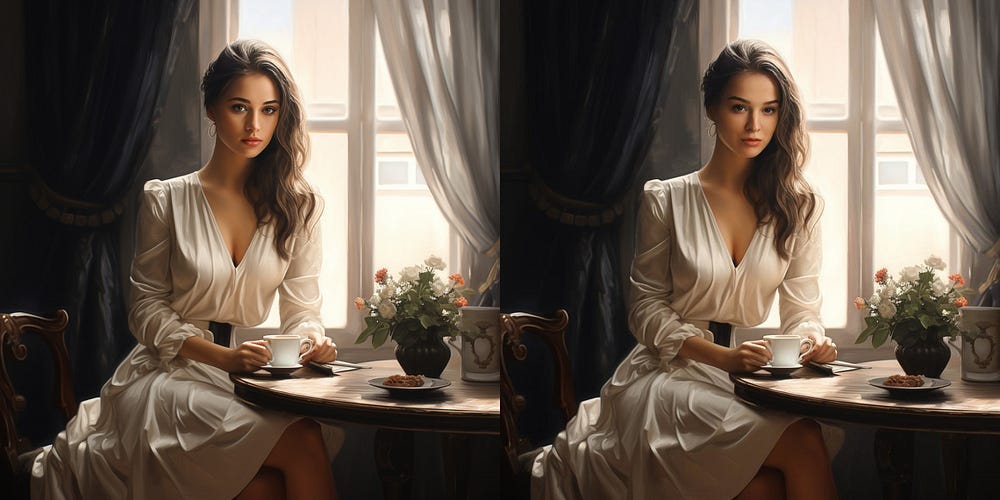
Here’s an example. On the left, there’s Cinderella generated with Midjourney, and on the right, there’s a selfie of mine.

Using Midjourney I could replace Cinderella’s face with mine. Here’s how I’d look if I was in the body of Cinderella.

I think my face fits her body very well!
I also tried with Princess Belle. However, Princess Belle has brown hair, so I used another photo of mine where I have a similar color of hair. Maybe that helped get the good results below!

Suddenly, I realized this swap faces feature could be a very good way to try your face with different hair colors and outfits, so I generated Mulan with Midjourney to try the black hair color.

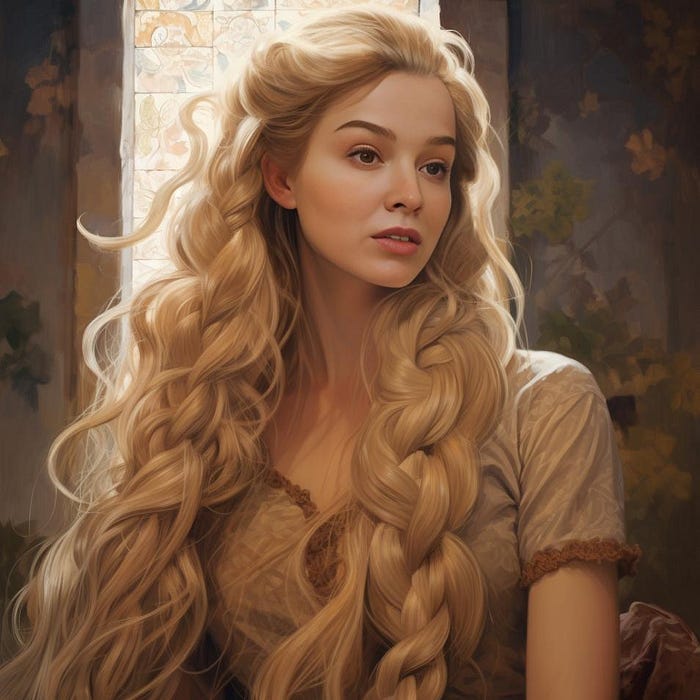
A hairstyle I’ve never tried is Rapunzel’s. Fortunately, Midjourney didn’t help me generate an accurate live version of Rapunzel but I could still try this new hairstyle.

And all this isn’t exclusive to Disney characters. You can put your face in the body of your favorite celebrity. I used Midjourney to replace Megan Fox’s face with mine in the image below.
Just look how exactly it turned out! Even I would’ve believed it was me.

Here’s how I did it
Before we start, note that I didn’t use the cartoon version of the characters above (which Midjourney tends to generate) because my face would never fit the face of a cartoon.
What do I mean by this? Avoid using images like the one below.

Now, follow these steps.
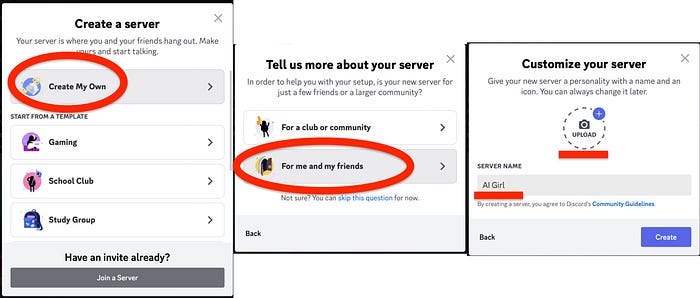
Step #1: Create your own server on Discord
On Discord, create a fresh server using the side panel by tapping the “+” icon.

Then follow the steps below:
“Create My Own”
“For me and my friends”
Personalize your server by assigning it a name and uploading an image.
Congratulations, your personal server has been successfully established. To kickstart your creative journey, invite the “Midjourney bot” to your channel. To achieve this, head to your sidebar’s direct messages
Spot “Midjourney bot,”
Right-click to unveil the “Profile,”
“Add to Server”
Choose your server, and lastly, click both “Continue” and “Authorize.”
Step #2: Invite the InsightFace Bot
The InsightFaceSwap Discord Bot simplifies face swapping, and you can invite it to your server for an enhanced experience.
To add it you can use this link.
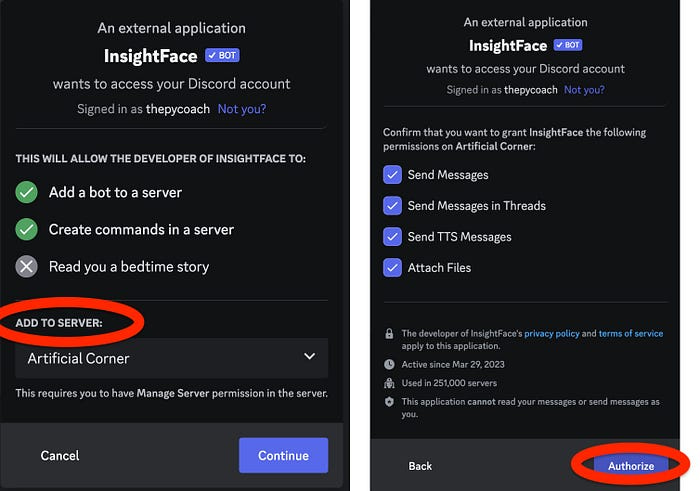
Next, confirm that you are not a bot and we are done with this step.
Step #3: Set Up
After making sure Midjourney and Insight Face Bot are in your server, proceed to upload an image and record the Identity using the command “/saveid” for future facial edits and replacements.
Note: the image should be in a front-view orientation.

Done. It’s saved!
Step #4: Create a picture
Simply use the command /image and provide a prompt for your image.
For instance, I used Disney princess Rapunzel.

I liked the first option, so I selected U1.
Step #5: Use Insight Face Bot
Once your image is complete, proceed to utilize the INSwapper application by following these steps:
Click on the three-point drop-down menu
Navigate to “Apps,”
Select “INSwapper.

And … your image with your face is ready!
It’s very realistic!
I also decided to try a more realistic style, and this is what I got.

This is a good way to try if your face fits some outfits. What do you think?
Once you add a photo, it will remain in the settings and will generate an image with the uploaded photo. If you want to change the photo, you need to repeat the steps from Step 3.